

Take a look at the fire extinguisher nearest to you. Hanging from the handle or attached to the cylinder, there's a small tag. Most people walk past it every single day without a second thought. But that little tag tells you everything about your extinguisher's service history, and for Australian businesses, reading it correctly matters for compliance.
Under Australian Standard AS 1851-2012, all portable fire extinguishers must carry a service tag as part of their routine maintenance record. Knowing how to read a fire extinguisher tag is a straightforward skill, and this guide walks you through exactly what to look for.
Why Tags Matter for WHS Compliance
Fire extinguisher tags aren't just an administrative formality. They're a legal record.
AS 1851-2012 requires each extinguisher to carry a permanently marked tag documenting when the last service was performed and when the next one is due. The tag must be securely attached with a minimum retention force of 200 N, which means simple cable-ties don't meet the standard.
From a workplace safety standpoint, the stakes are tangible. In some Australian jurisdictions, a single defective or out-of-date extinguisher can attract on-the-spot fines. According to the SafeWork NSW penalty schedule, fines can reach up to $3,600 per unit under 2025 WHS regulations. Keeping tags current and legible is one of the simplest ways to stay prepared for an audit.
The Anatomy of an AS 1851 Service Tag
Standard Australian service tags are typically yellow aluminium and follow a consistent layout. Once you know the format, reading them takes seconds.
The month and year grid
The tag displays a grid with months listed across the top and years running down the side. When a qualified technician completes a service, they punch a hole or stamp through the box corresponding to the month and year the work was performed. This creates a permanent, tamper-evident record of your extinguisher's service history.
Once all the date boxes are filled (roughly after 12 months of inspections), the technician attaches a new service tag and carries the most recent 12 months of records forward.
Service level numbers explained
Alongside the date punch, the technician marks the level of service completed. According to Firewize's technical guidance on date stamps, the service levels are
- Level 1: Six-monthly routine inspection.
- Level 2: Annual inspection, more comprehensive than Level 1.
- Level 3: Internal inspection of the extinguisher cylinder.
- Level 4: Five-yearly hydrostatic pressure test and recharge.
- Level 5: Discharge test, typically combined with other service levels.
Each number gives you an immediate picture of what was done and when.
Anti-tamper seals
Many service companies also attach colour-coded anti-tamper seals to the extinguisher pin or handle. The colour rotates with each service visit, so facility managers and auditors can see at a glance that all units on a site were serviced in the same period.
Checking Your Extinguisher in Under a Minute
You don't need to be a technician to perform a basic tag check. Here's what to look for:
- Locate the tag. It should be attached to the handle or body of the extinguisher.
- Find the most recent punch or stamp. Check the month and year. Is it within the last six months?
- Check the service level number. A "1" means a Level 1 six-monthly inspection was completed.
- Look at the cylinder body. A manufacture date is stamped directly onto the cylinder. Under AS 2337.1 and the AS 1851 service schedule, extinguishers older than 10 years, or those without a pressure test in the past five years, must be pressure tested or replaced.
- Assess the tag condition. Is it legible, firmly attached, and undamaged?
Under AS 1851 Table 1.16.2, inspections need to occur within one month either side of the due date to remain compliant. So if your last Level 1 inspection was in January, the next service needs to happen no later than the end of August.
What to Do If the Tag Is Missing or Illegible
An extinguisher without a legible, compliant tag is considered non-compliant until a full annual service is carried out. The service history can't be reconstructed from memory or assumption.
If you find extinguishers on your site without tags, contact a qualified technician promptly. They'll complete the required service, fit a compliant aluminium service tag, and issue the appropriate documentation. AS 1851 recommends retaining service records for seven years, which is the higher benchmark compared to some state-based requirements (Queensland's Building Fire Safety Regulation 2008, for instance, specifies two years as a minimum).
Staying on Schedule Throughout the Year
For most businesses, six-monthly extinguisher servicing covers the regular Level 1 inspections, with the annual Level 2 typically combined with one of those visits. Every five years, a Level 4 pressure test is required, involving a full recharge of the extinguisher agent.
Only technicians holding the relevant accreditation (units CPPFES2020 and CPPFES2026, or FPA Australia FPAS accreditation) are authorised to service extinguishers and complete the formal tag record.
It's also worth ensuring your team knows how to actually use the equipment. According to a Fire & Safety Australia survey, fewer than 50% of Australians feel confident using an extinguisher, and only 13% can identify the different extinguisher types. A current service tag matters, but confident people behind the equipment matter just as much. Our First Line of Defence fire safety training course is a practical one-hour on-site session that addresses exactly that. You can also browse our full range of compliant portable fire extinguishers if your existing equipment needs replacing.
A Small Tag with a Big Job
Reading a fire extinguisher tag doesn't require specialist knowledge. A few seconds of attention tells you when your equipment was last inspected, what service was performed, and when the next one is due. For anyone managing fire safety compliance, it's one of the easiest checks to build into a regular routine.
If you're unsure about the status of your equipment or need to schedule a service, get in touch with us at Fullworks Fire Safety. We provide scheduled fire equipment servicing across Perth Metro and supply AS 1851-compliant tags and accessories nationwide.
Frequently Asked Questions
How often should a fire extinguisher be serviced in Australia?
Portable fire extinguishers require a Level 1 inspection every six months and a more comprehensive Level 2 annual inspection, in accordance with AS 1851-2012. Every five years, a Level 4 hydrostatic pressure test and recharge is also required. Your qualified technician will keep your service tag up to date and advise when each interval is approaching.
What do the service level numbers on a tag mean?
The numbers indicate the type of service completed at that visit. Level 1 is the six-monthly routine inspection, Level 2 is the annual inspection, Level 3 is an internal cylinder inspection, Level 4 is the five-yearly pressure test and recharge, and Level 5 is a discharge test. Each number is marked alongside the date the service was performed, so the tag builds a clear service history over time.
Do I have to replace the tag every year?
Not necessarily. A tag is replaced when all the date boxes have been filled, which typically takes around 12 months of regular inspections. When the technician fits a new tag, they carry forward the most recent 12 months of records from the old one, so there's no gap in your service history.
Who is authorised to punch or stamp a fire extinguisher tag?
Only qualified technicians holding units CPPFES2020 and CPPFES2026, or those with FPA Australia FPAS accreditation, are authorised to service extinguishers and complete the tag record. Tags completed by unqualified personnel do not meet AS 1851 requirements and render the extinguisher non-compliant.
Does a home fire extinguisher need a service tag?
AS 1851-2012 applies primarily to commercial and industrial premises, so the formal tag requirements may not legally apply to a residential extinguisher purchased for personal use. That said, regular servicing is still recommended to ensure your home equipment will function reliably if you ever need it. A periodic inspection by a qualified technician gives you confidence that everything is in working order.


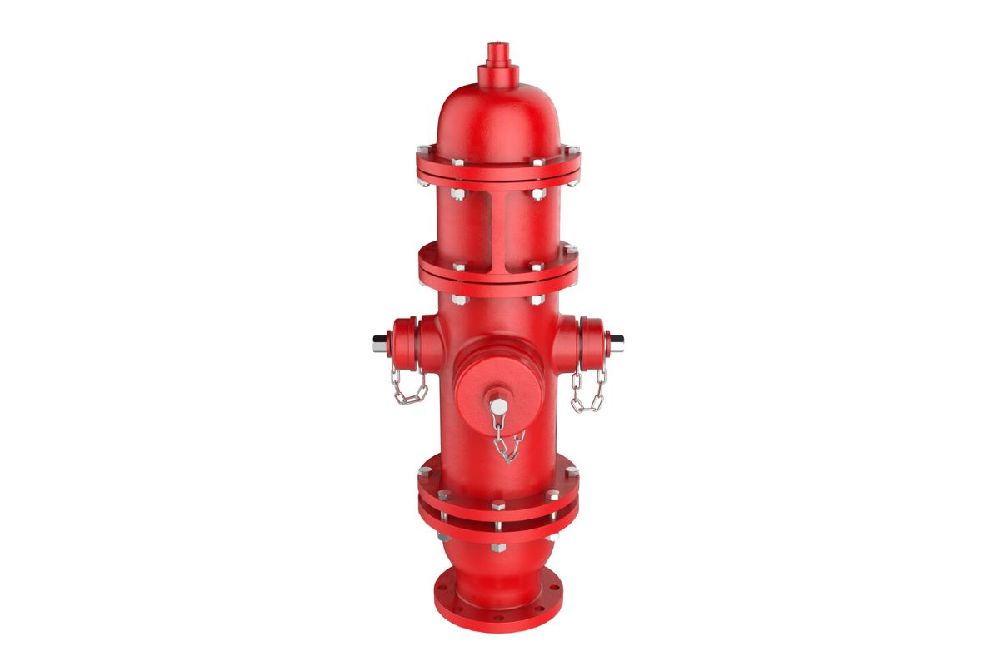
_860.jpeg "What are the Different Types of Fire Hydrants?")


_860.jpeg "What Should Be in a First Aid Kit? A Complete Guide for Every Australian Home and Workplace")


